


I have two daughters in car seats right now. My youngest daughter just out grew her infant car seat. So she needed an upgrade...
We had an extra seat in my husband's truck that we kept in there just in case he needed to take someone somewhere. I decided that we needed to move it to the van.
It looked pretty nasty though. But I do love the car seat. It is easy to take in and out of the car and is just an overall great seat. So I made the decision to recover it. I recovered an infant carrier about three years ago, so I knew the basics of it.
Here is the new and improved seat.

|
Here is what it looked like before. Pretty used and abused...

I went through my material stash and found some fabric that I ...you guessed it...picked up at a yard sale. You know me and my yard sales, I can't say no to a good deal. The floral fabric is actually fabric from the home decor section. It's pretty sturdy.
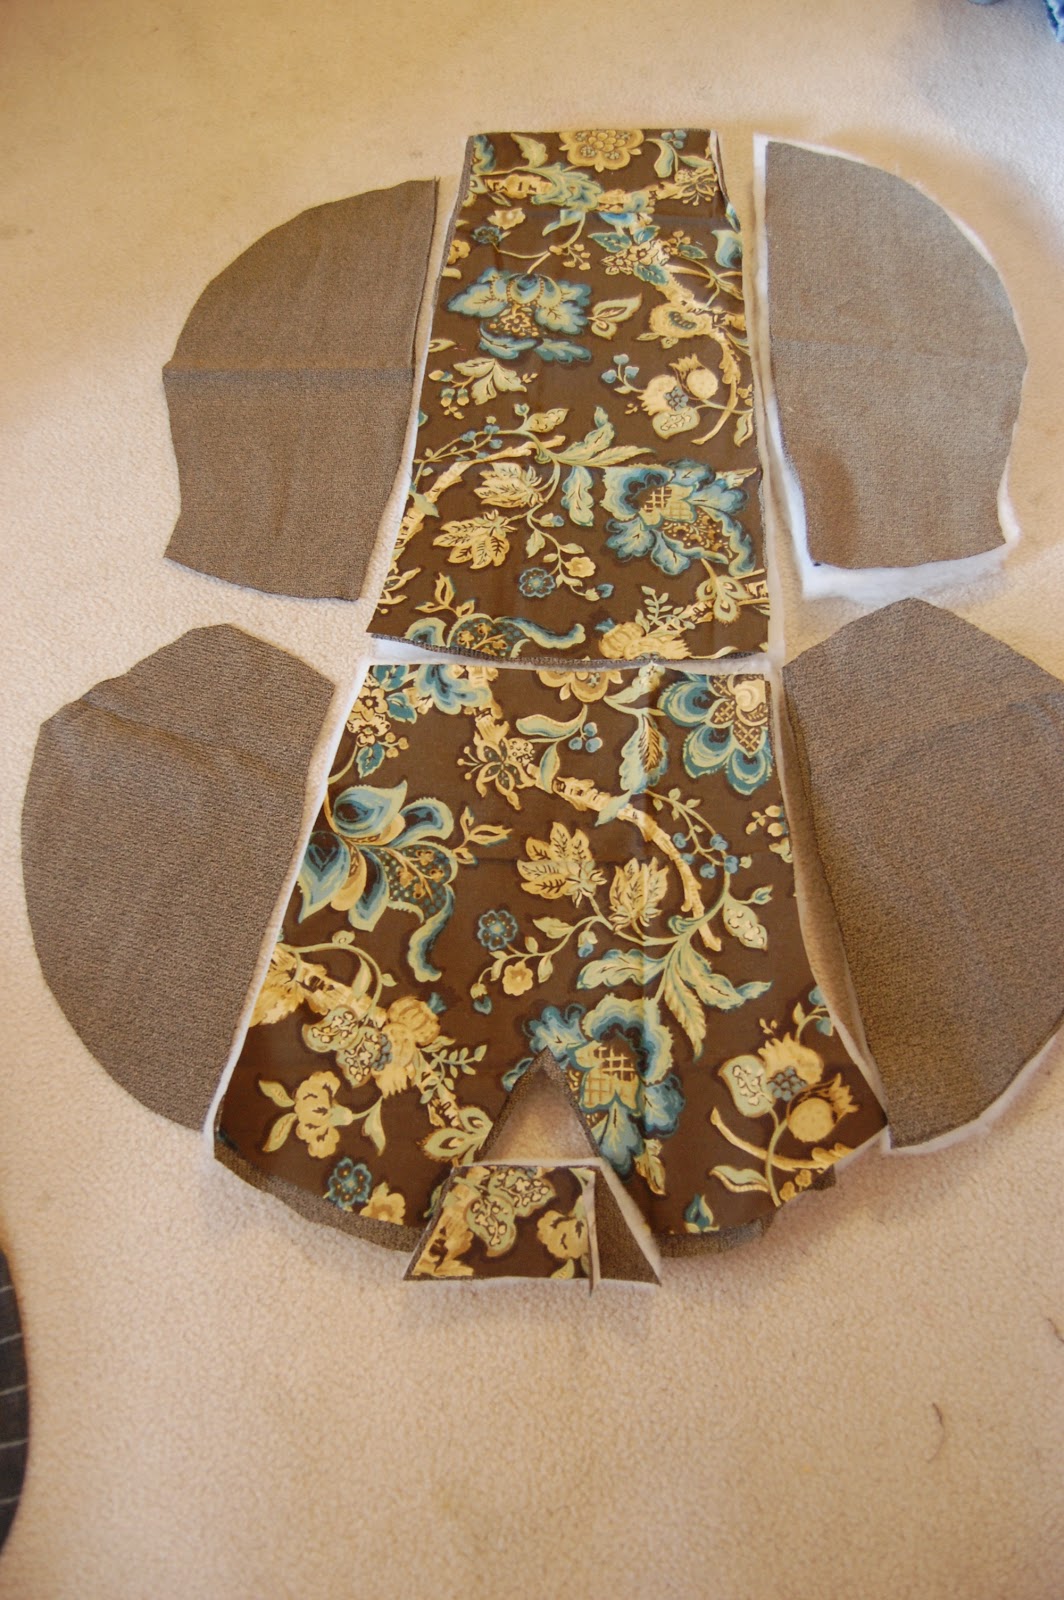
I laid out the old cover and cut out new pieces based on the old one. I cut one piece of fabric for the top and then another one for the back, or lining. And then I cut two pieces of batting for each piece because I wanted the cover to be nice and comfy.
This is what it looks like after I cut all the pieces out and laid it out.
I sewed each section together to itself.
Meaning: I sewed the front, 2 pieces of batting and the back all together to form one piece so I could put all the pieces together easier.

Here are all the pieces all sewn and ready to go.

I sewed all the pieces together and sewed "button holes" in the appropriate places for the straps to go through. This was the most challenging part for me because in the middle of sewing a button hole, my thread ran out and I didn't have any more left in the whole house. Just my luck! So I had to put the whole project on hold. But after a few days, I went to the store and picked up some much needed thread and finished those button holes.
So for this next part, I cut a 4 inch strip and sewed it to the whole cover. This is the part that will keep the cover attached to the seat.
In most cases, the covers have elastic to hold it onto the seat snugly. I didn't have any elastic, so I decided to sew pleats instead.
To do this, I put the cover on the seat and pinned various pleats onto the cover until I felt that the cover would be secure enough. Then I sewed the pleats. The pleats work great and look crisp and clean.
I attached a binding to the edge to cover all those stitches and edges.

All finished and I'm loving it!
And now my daughters sit side by side and hold hands and wear their sunglasses. Life is good!


Don't forget to vote for us on Picket Fence! It just takes one click...


13 comments:
This is precious! You did a great job, Briana :)
Looks awesome! I never did get brave enough to do carseat covers for my girls--my son has about a year left in his. Not sure that will happen :)
I had to laugh when I saw this! I recovered this EXACT car seat last week! Mine had a denim cover that had worn out. :)
This looks awesome. I should do this for my daughter's old car seat since we may have to re-use it for a future son.
Looks awesome! I recovered my great nephew's car seat before he was born in camo lol His parents have loved it.
My daughter soooo needs her carseat cushion pimped-up!! Feel free to make one for her :) hehe
This is sooo cute! Great job!!!
I'm loving it too - what a fantastic job!!
This looks great. You make it look so easy. I hope I can follow your pattern one day!
I like your new seat cover a ton better! Happy to have you at Things I've Done Thursday!! www.bearrabbitbear.com
You are a genious! What a great upcylce! I am hosting my 2nd link party, and would love for you to add this along with anything else you like!
http://www.mom4realky.blogspot.com/2012/02/4-real-friday-link-party-2.html
Jessica @ Mom 4 Real
Your seat cover turned out beautifully!
This is so cute! I haven't been brave enough to attempt a carseat cover, but we have an ugly one that can use massive improving! Yours is awesome! :)
Post a Comment