Showing posts with label Decor. Show all posts

Thursday, June 11, 2015

Entry Table and Chalkboard Makeover

My husband and I bought a home last year, in our home you walk right into a wall right when you come in the front door.  I needed a piece of furniture that was not too wide, that was cute and affordable to go in that space.  I also did not want it to be too personal with pictures of my family in case someone strange knocked on my door.

I finished this project about a year ago, but I got an email from Wood Creations Furniture that they wanted our Color Story for Red, White & Blue Projects.  They inspired me to write this up!

I spent a total of $40 on our front entry furniture plus paint. 
This is the end result....
Now, it did not look like that when I bought it...  
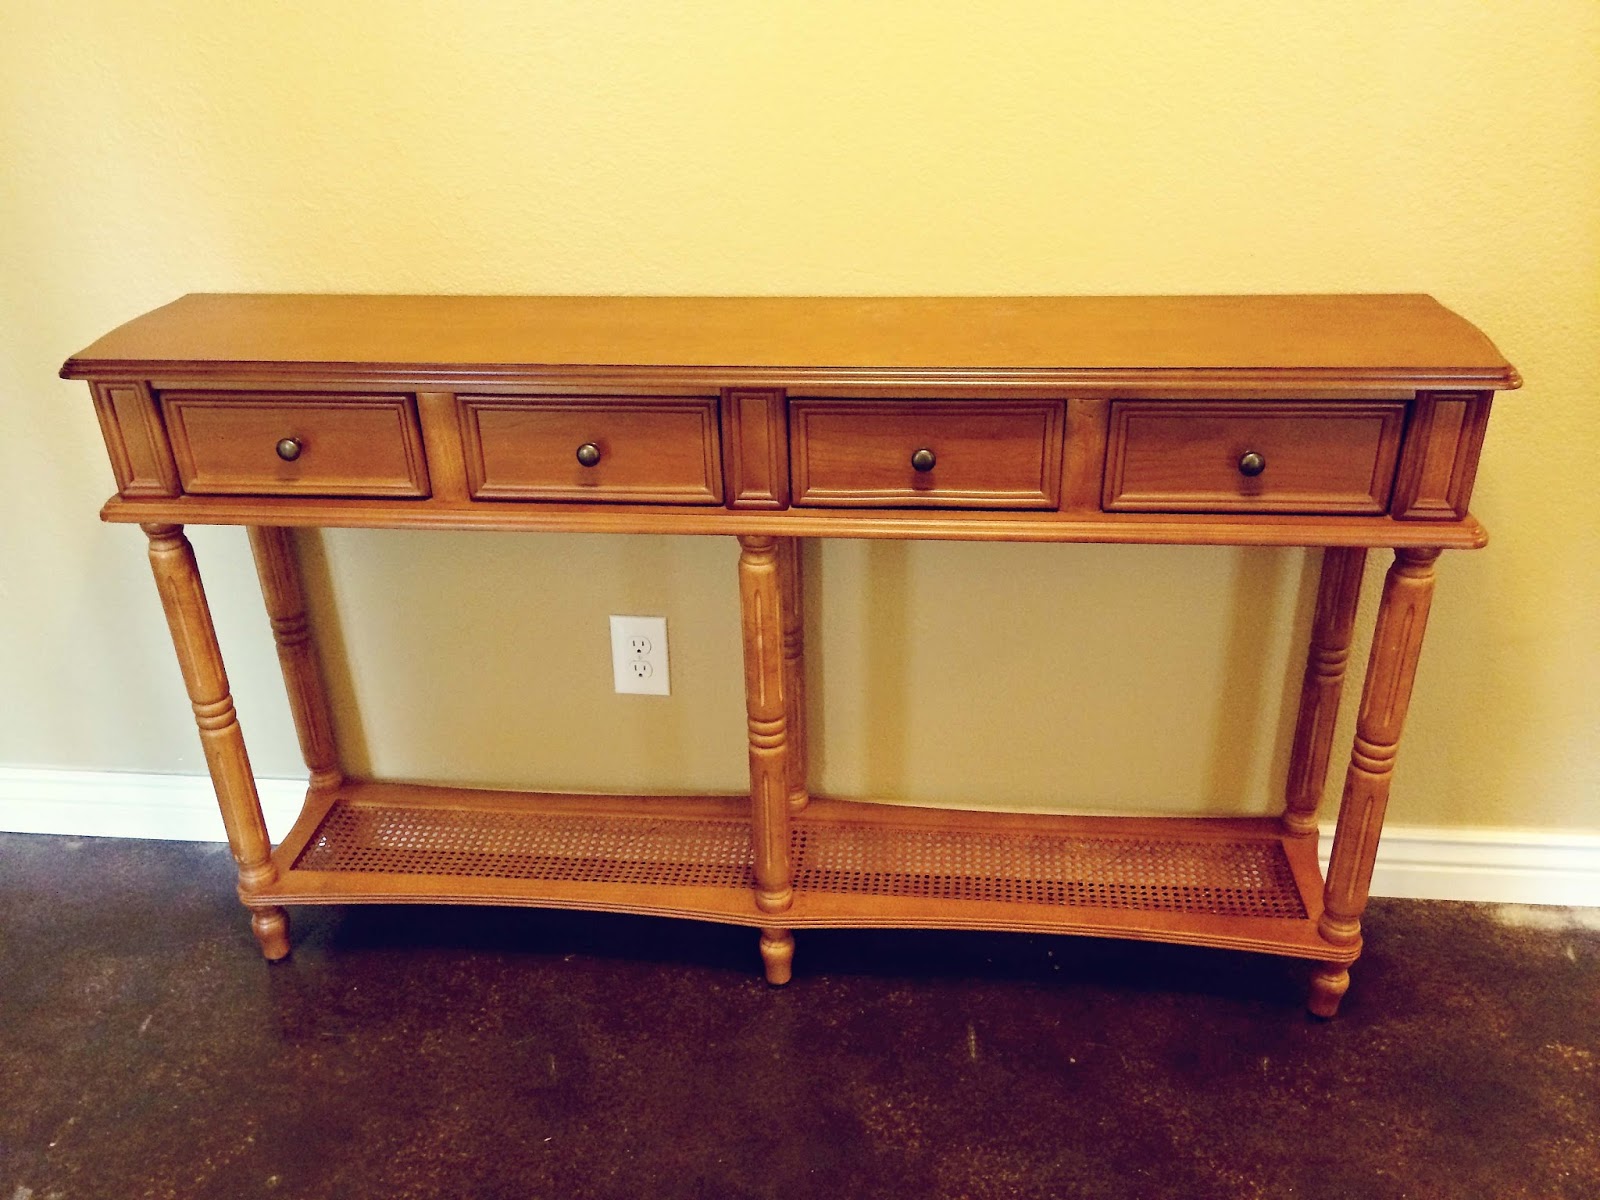
This is what the entry table looked like before....
It was VERY sturdy, all WOOD, great BONES, very narrow, $40 and EXACTLY what I wanted except for the color.  My decoration style is definitely Farmhouse/Shabby Style so I definitely need to paint it.  
I used Annie Sloan Chalk Paint in the Pure White.  I painted it with two light coats of paint then I heavy roughed it up with sandpaper. 
 
I LOVED the results!
I then needed something to go above the entry table.  I really wanted to do a family picture, but my husband didn't want everyone that came to our door to see our family. 
 So, I decided on a chalkboard.
A while back my sister, Brittany, gave me an ugly picture and frame that she was going to throw away.  I stuck it up in my attic thinking that I would eventually come up with something to do with it.  I decided to make it into the chalkboard...
 
I took the picture apart and painted the frame with the matching Annie Sloan Chalk Paint in Pure White.  Then I used Chalkboard Paint and painted the glass for the actual chalkboard.  
You cannot even recognize it is the same piece!!!
I absolutely LOVE how my entryway looks now especially for $40!!!  The Annie Sloan Chalk Paint is SUPER easy to use!
Brooke

Tuesday, March 5, 2013

Blessing Dress Holder

My little girls room has a Shabby Chic theme- white furniture with glass knobs, old windows etc... I have been wanting to display the dresses that they were blessed in but i didn't quite know how.

The other day I was at Hobby Lobby and found these Glass Knob hangers and thought they would be perfect! 
 So here they are...


In case you were wondering, I did not make these dresses.  But, I got this next dress from a amazing shop on Etsy called Debra Lee Originals and she is absolutely amazing!  I definitely recommend her dresses!  

Friday, January 18, 2013

Dresser Makeover using Homemade Mod Podge

One of our most viewed posts of all time is our Homemade Mod Podge.  Now this recipe isn't ideal for every crafting project, but it is a cheap and simple alternative.  

Recently, one of our readers emailed us a few pictures that she took of a dresser she redid using the Homemade Mod Podge.  

 
 I thought that the results were too amazing not to share, so I asked her if I could share her pictures and story with all of you.  And I was so excited when she said yes!
 
This is what Jennifer said:
 
"I found your mod podge recipe on pinterest recently.  A week later my cousin gave me a colorful and sturdy dresser for my 7 year old, self proclaimed, fashionista...because she keeps outgrowing her dresser!  She asked me to paint her dresser purple ...but I really did not have the room, or money to devote to the project.  I picked up a huge damaged paper pack at Michael's a couple months ago for a sweeeet price that would really make this dresser wild and I thought that it would be a fantastic time to try out that mod podge recipe.  So on a Monday morning after I got the kiddos on the school bus I started measuring drawers and paper and cracked out the ole calculator (I haaaaaate math).  I cut up my paper and layed it out onto the drawers, (to check my measurements....not to shabby) sanded the surface slightly and started mod podging.   I distressed the mirror using some shimmer spray in the color sunflower, that I had in my scrap-booking kit, and added some paper scraps and a light sprinkle of glitter while the mod podge was still wet.  Next I cut out some leopard print shaped and mod podged them to the top of the dresser in a swirl pattern.  My dad painted the knobs and pulls a nice golden metallic hue.  I sanded the edges of everything and this is the end result...My girlie just loves it!  In total I devoted about 8 hours to the project and spent about $10.  I also gained a new addiction to add to my growing list of crafty addictions...decoupaging!"

Here are the before and after pictures:


Didn't Jennifer do an amazing job?  Thank you so much for sharing.  
We had a reader ask if the Homemade Mod Podge can be used as fabric Mod Podge.  I haven't tried it with fabric.  So I thought that I would ask you all.  

Have any of you tried it on fabric?  And how were the results?  

Thanks!  You are all awesome!
 
Briana

Monday, December 3, 2012

Christmas Decorations

Since Briana posted her piano Christmas Decorations here last week, I decided to go ahead and post mine...
I have posted most of these projects here on our blog.  You can find the Christmas Block Nativity HERE.
Someone actually gave me this Snowman.  It is actually made out of an old bed post.  Such a great idea!  Behind the snowman is my Mod-Podged Temple.  You can find that post HERE.
I hope that everyone is having a GREAT time decorating for Christmas!!

Wednesday, November 28, 2012

Old-Fashion Candy Dispenser

About 2 weeks ago we had the great opportunity to guest post at Sugar Bee Crafts!  We wanted to share our Old-Fashion Candy Dispenser with everyone today!

This Old-Fashion Candy Dispenser is SUPER easy!  
All you need is... 
Baby Chicken Feeder (you can find at any local feed store) for about $3,
 a Small Mouth Quart Mason Jar,
and three large bags of M&M's.

 
You fill the Mason Jar up with M&M's and then it just screws onto the chicken feeder.  That's it!
The best part about it is that you can change out the candy depending on the season.  You can use Candy Corn for Halloween,  and different colored M&M's for each season.  
It is also great for portion control because you can only eat a few M&M's at a time (great for kiddos!)
 
 
Brooke

Tuesday, October 2, 2012

Fall Fireplace Mantel

We just recently moved into a new house last month and it has a beautiful fireplace mantel.  I am so excited to decorate it throughout the seasons!

I just love Fall and all the colors, along with the beautiful cooler weather we enjoy.  So I am so delighted to decorate to fall!

I picked up the garland and pumpkin at Hobby Lobby over the past few years when they clearance out their old decorations.  I was given the candle holders from my wonderful sister-in-law.


I picked up some letters at Jo-ann's and painted them black a few years ago.  And the star I found at a yard sale.


I just love the new look and the new house!
Now off to decorate the rest of the house...

Briana

Tuesday, July 24, 2012

Horseshoe Necklace Holder


I have been getting overstocked with necklaces, my personal ones and the ones I make. So I decided to go and create something out of my parent's scrap treasures! So I found this really antique mahogany board that my dad has had for about 12+ years! I cut it over 2 feet long and with horse shoe nails, nailed 3 used horseshoes to it. It costed me $0 cause I have such cool parents! 


 That is really antiqued paint, not new stuff here. :o)

Here is the rake head that I found and posted a few weeks ago. It now holds all the necklaces that I sell in my shop.

 Oh yes, and ALL of these are for sale in my shop called Western Hospitality. In fact I decided to share a coupon code with all of our Babblings And More Followers. Enter ILOVEBLING for 20% off in our Western Hospitality shop.


Bridget

Tuesday, June 5, 2012

DIY- Easy Outdoor Pillows

I LOVE outdoor pillows!  They add a lot to any outdoor space.  The problem is that they are so expensive.  I decided to make my own Outdoor Pillow Slipcovers.  I am telling you- they are SO easy that you will go crazy making all sorts of outdoor pillows!
I used Outdoor Canvas that I bought at Joann's for the fabric.  Joann's actually has a pretty large selection of Outdoor Material.  When I saw this orange fabric, I couldn't resist it!  I did not want to spend a lot of money on these pillows, so I went to Goodwill and picked up some pillows that were in good shape.  
They were $1-2 a piece.  These pillows are all about 17in x 17in .
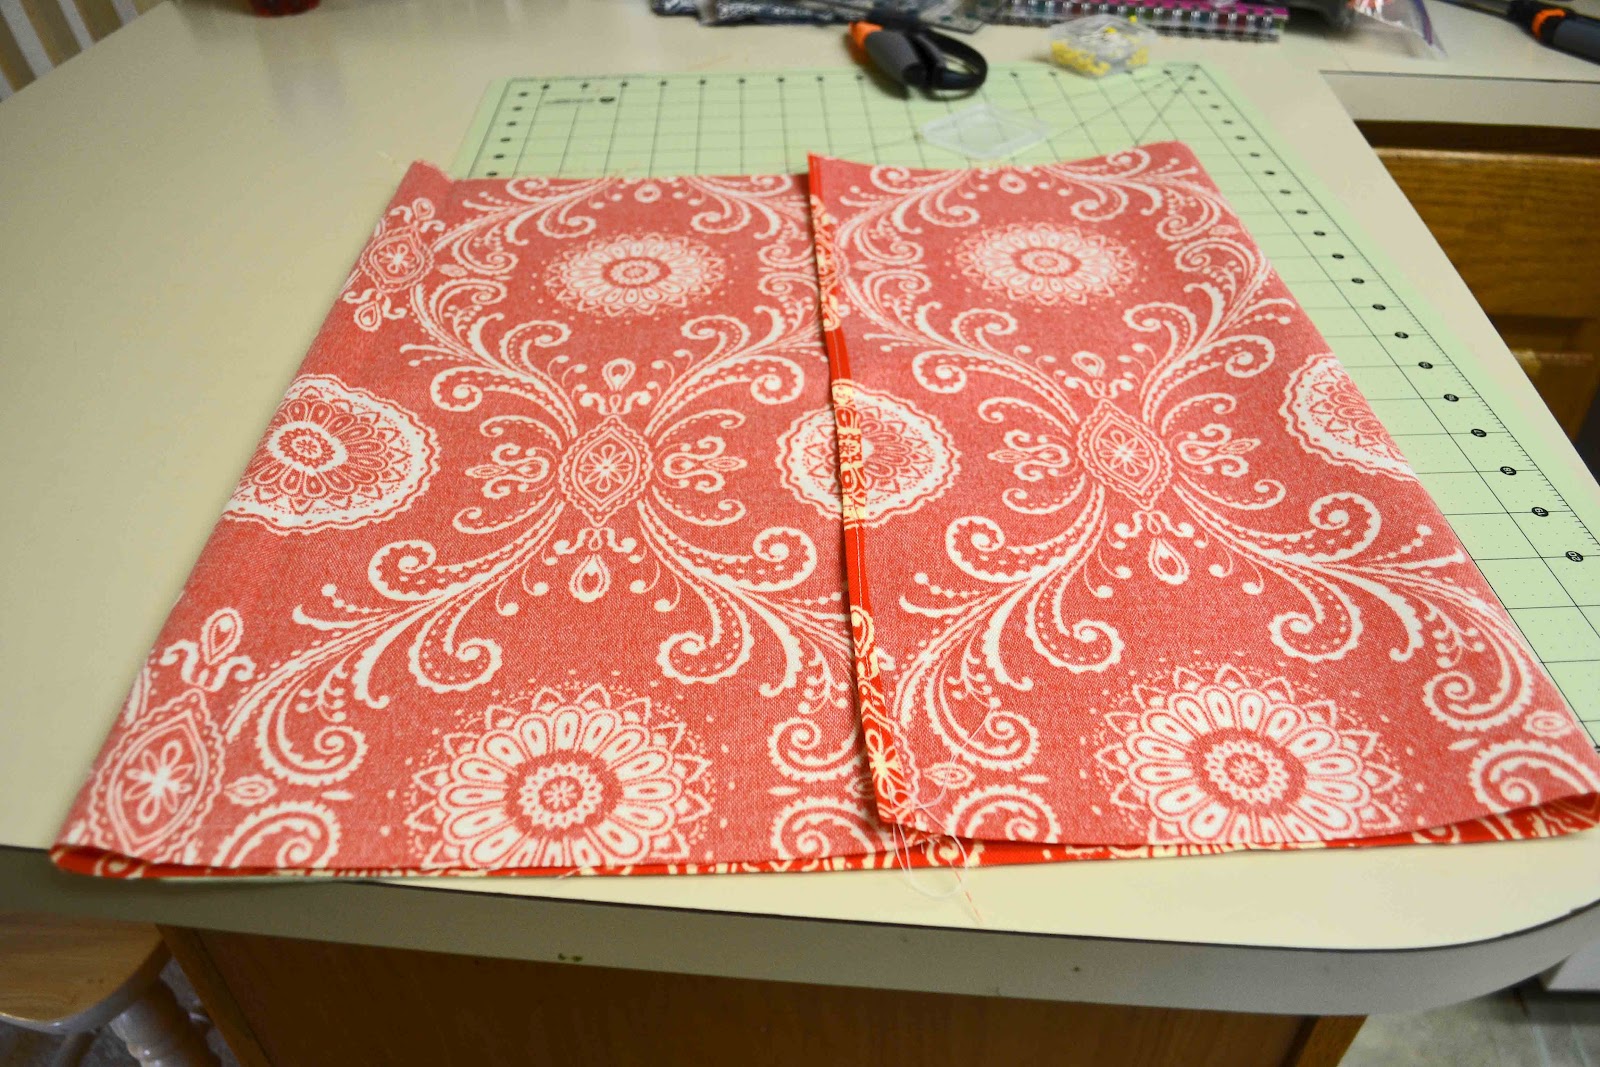
 I bought one yard of fabric- one yard made 3 pillow covers.  I cut the material at 18 in x 36 in.
You hem both of the 18 inch sides.
Next, I laid out the material so the sides are over laping about 1 inch and pinned it on both sides.  Make sure the right sides are together.
I then stitched up both of the sides and turned the material out.
Now, I stuffed the pillow in the cover.
You can leave the pillow just like this, but I wanted a little extra feature.  So I stitched on some wooden buttons that I won from a giveaway a while ago.
You are DONE!
These pillows cost me about $4 per pillow (the outdoor canvas is more expensive than regular material).
I LOVE THEM!

Monday, May 21, 2012

Repurpose: Diaper Box into Denim Box


 My 12 year old twins go to middle school and have to wear uniforms and didn't have any room for all these extra clothes in their dresser.  So they have been keeping their clothes in a diaper box under the bed.  I promised that we would turn the diaper box into something else that didn't look like a diaper box, or have a baby on the front.  I am just now getting around to keeping that promise.  I don't know why it took me so long, it was so easy and quick!


I covered the diaper box with some heavy duty denim fabric that I bought at a yard sale a couple of years ago.  This was incredibly easy!  It only took about 15 minutes.  Making the liner in easy too.  There is a tutorial on Make it Love it if you are interested in making your own liner.  

When I made my liner, I just measured each side of the box and added an inch to the top and side for seam allowances.  Then I sewed all the pieces together.  Fold over the edges and sew a seam casing for the ribbon and you're done!  Easier said than done, right?  It's really not that hard.


Here is how I recovered my box.  This is actually the second one that I did.  My boys loved the first one so much, that I decided to make a second one.  They fit perfectly under the bunk beds and look so much organized than the system they are using now.

First, measure the top of your box.  Mine is about 11.5 inches tall.  So I made sure to cut about 15 inches around the box so I could fold over the sides into the box.  More on that later.  The first box I use was very sturdy.  So I cut off the flaps that fold to make the top.  This box has been used and abused by my boys.  They folded the flaps into the box and used packing tape to secure them, so I left it that way.  I figured that the box would be that much sturdier.

Cut your fabric around the box as shown.  I cut 15 inched around the entire box. Now cut a square out for each corner.  I measured 2 inches  out from the corner and then cut the square out.


This is the spray adhesive that I used.  There is NO sewing to recover the box, only to make the liner.


Spray the bottom of the box.  It is best to do this in a well ventilated area.  Outside would be best.
Place the box in the center of your fabric.  Then turn the box upside down and smooth the fabric over the bottom of the box.


Now for the sides:  I did the longer side first.  Spray the whole side of the box and smooth the fabric over the box.


Now spray the inside of the box, just enough for the fabric to cover.  You don't have to spray the whole inside. Then repeat on the other side.


This is what your box should look like now.  The long sides are done and now we are ready to do the short sides.  Before you spray for the short side, you need to spray a little to attach the remnant from the long side onto to the short side.
 

Now you need to make sure your fabric folds this way.  You are going to spray the short side of the box, but as you attach your material to the box you need to fold in the sides.


Here, my fabric is attached and the sides are folded.  Now spray into the fold and apply pressure.


Spray the inside of the box to attach the rest of the fabric and then repeat on the other side.


Now your box is done and the liner can be made.  So cute and easy!


Vote for us on Picket Fence by clicking this button!
Related Posts Plugin for WordPress, Blogger...