Showing posts with label Cleaning. Show all posts

Friday, May 9, 2014

Homemade Lavender Oatmeal Soap

This past week, I taught my daughter's Preschool group and decided to get the girls together (it is a sweet little class of only girls) and make a Mother's Day present.  I decided that homemade soap would be fun and easy!

So I gather together a few ingredients and we went to work melting and stirring, and then ended the project with wrapping and tying.  It was fun and the girls loved every part of the project! 

This is a neat project to experiment with, so give it a try.  It's not an exact science, just hands on and lots of fun!
 
 I just want to add a little disclaimer. I am not a professional soap maker, just a Mom who likes to mix things together and have fun! My kids love to make their own different versions and experiments.
 

Homemade Lavender Oatmeal Soap

Ingredients and Supplies
Blocks of glycerin soap (I bought mine at Hobby Lobby.  
It came in a bag.  When I melted it down, I used about 1 1/4 cup.)
1/4 Coconut oil (not necessary, but great for moisturizing)
Food coloring (optional)
Fragrance (I used a couple drops of DoTerra's Lavender Essential Oil)
Handful of Oatmeal
Bread Pan
Cooking Spray
Wax Paper
Wrapping Material (for cuteness)
 
Start out by preparing the bread pans.  You can use whatever type of mold you want the soap to take shape into.  I used two small loaf pans and cut three blocks of soap from each pan.  Line the pans with wax paper the best you can and then spray with cooking spray.

Melt the blocks of soap in the microwave for 30 seconds intervals, stirring between times.  After melted, add the coconut oil, food coloring, and fragrance.  If needed, put in the microwave again to keep the liquid form. After all ingredients are mixed, pour into pans.  Add a sprinkle of oatmeal, I pushed the oatmeal into the soap with a spoon, and allow to cool. 

After the soap is back in it's solid form, lift out of the pan with the wax paper and cut into pieces.  We made 6 bars of soap with this recipe.  Wrap and enjoy the luxury of homemade soap!
 
 
Briana

Monday, September 12, 2011

Chore Chart

Here is our latest and greatest Chore Chart that we are using in our family.  Having seven kids requires a lot of organization and planning.  Every once in a while, I switch things up to make doing chores more exciting.    

So I used my Silhouette SD and cut out this shape.  It is the chore_chart_grid_C00569_19210.  I increased the size and printed it out on about 4 sheets of vinyl that were paper size.  And I stuck it right on my refrigerator.

Then I used my Silhouette to print and cut out the coordinating icons that you can find in their online store.  It is great that the Silhouette has the option to print from your computer and then cut on the machine.  (Just make sure to print the registration marks on your paper.)  Before I printed, I sized down the circles to fit the size of my magnets (3/4 inch).  I added color and made sure to "tell" the machine not to cut out the shapes, but only the circles.


Here are the magnets that I bought.  I picked them up at Wal-Mart. And I used all fifty of them!

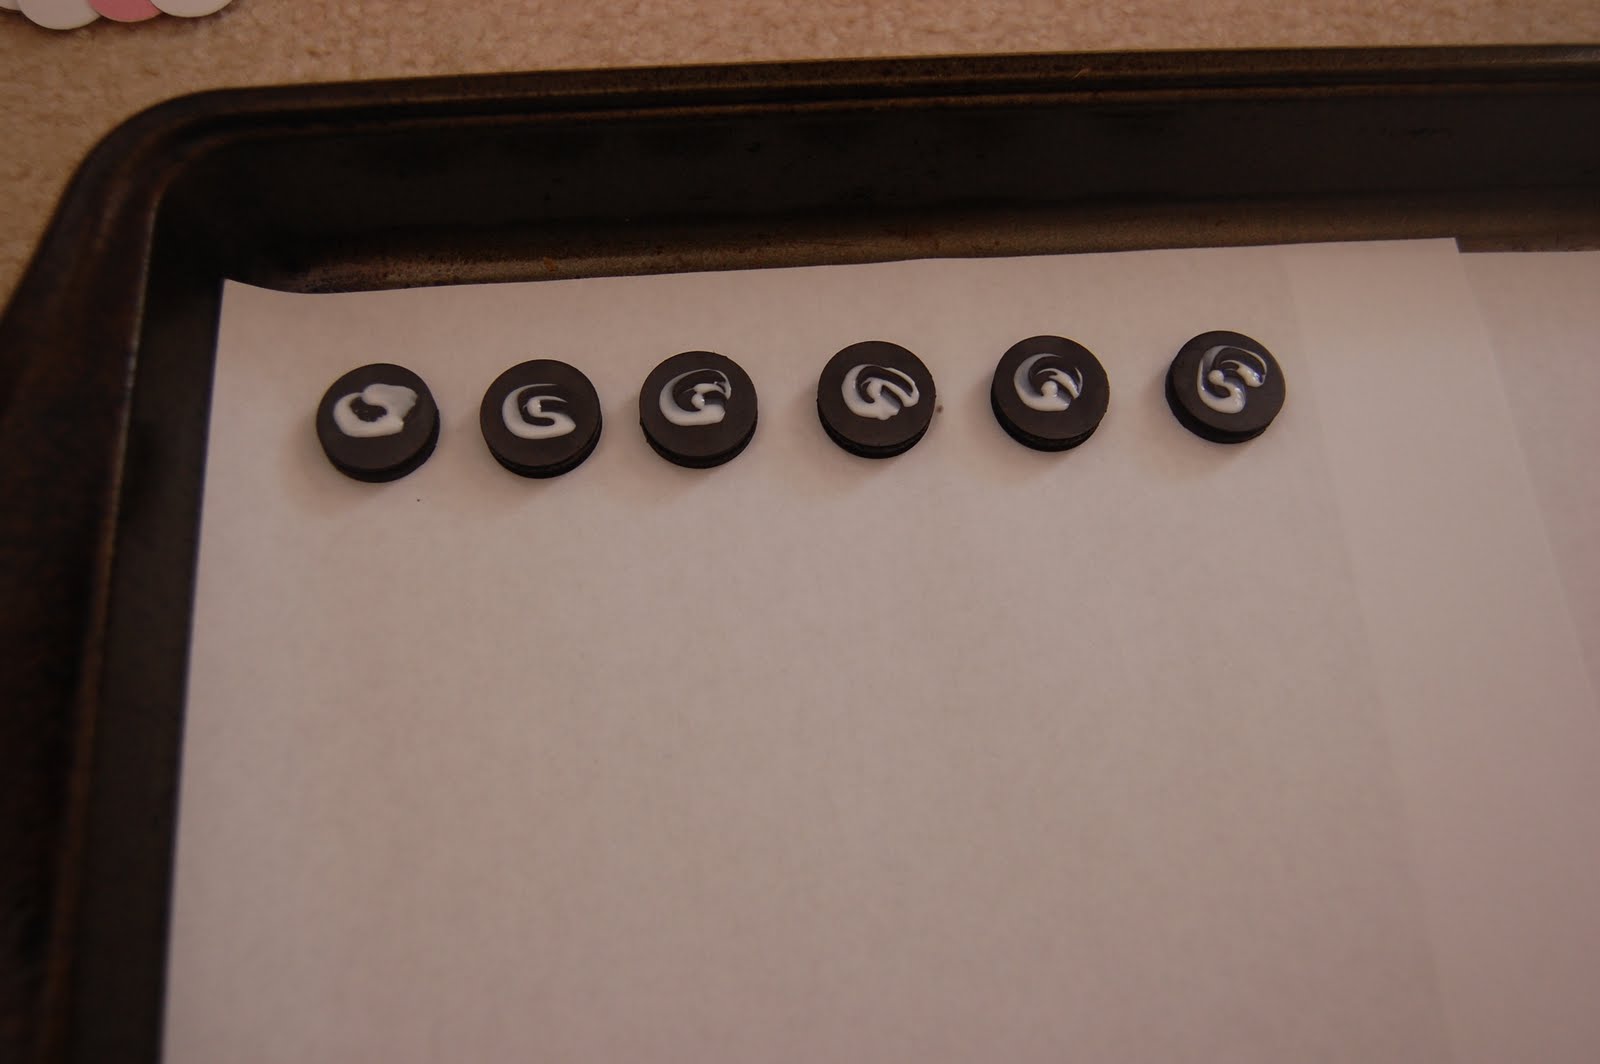
I used a cookie sheet with a paper on it to hold the magnets in place while I glued.


I used Tacky Glue to glue the papers down.


And then I used a Clear Gel Tacky Glue to glue the glass marble shapes (that are flat on one side) that I picked up in the floral department section.  (One tip that I learned is to put the glue on the marble and then attach it to the magnet.  It helps prevent the ink from smearing.)


I continued gluing the rest of the papers onto the magnets.  As you can see, I color coded the chores into groups.

Purple - put folded clothes away
Black - Practice piano
Green - Brush teeth
Orange - Homework
Pink - Practice stringed instruments (violin, cello, etc.)
Red - Clean room
Yellow - Make Bed
Blue - Other chores around the house


Next, I finished gluing the glass marbles onto the rest of the magnets.  I had so many marbles, that I was able to be picky with which ones I used.  Some of them had blemishes or weren't as large as I wanted.


Here's what the finished magnets look like.  I really liked the music ones!


Now onto the chore chart...


So here is the finished product:

I'm trying a new system, which has seemed to work great so far.  By this time in my children's lives, they know what they have to do and what needs to be cleaned.  So after they do their "jobs" they move the magnet next to their name and that shows me what they have done.

Everyone pretty much has the same jobs, except for the "blue magnets", or the household chores.  

So here's the catcher, whoever gets up first picks what house job they want to do, they finish it and then move the magnet for that job to their name.  This means that the person who waits to do their chores usually ends up with the job that no one wants.  These kids are running to get their jobs done, so they don't end up with the bathroom!  Haha!  I'm loving it!


Monday, August 22, 2011

Homemade Laundry Detergent


1 laundry bar, any brand, grated up finely
1 1/2 cups Borax
3 cups Washing Soda
After you have grated the laundry bar, combine the Borax and Washing Soda in a large bowl.All you need is 1 Tablespoon of the detergent for a normal size load. If you have heavier soiled clothes or a larger load use 2 Tbs. Be sure to store it in an airtight container, which I use used icecream or licorice buckets. Works great and love to recycle containers.

There are only 3 ingredients in this laundry detergent. No fillers or harmful chemicals in it. You know exactly what is in it! You can find all the ingredients in the same soap isle. Use any brand of laundry bar that is avaliable. It really has no fragrance in it either. But if you want your laundry to smell pretty you can add a few drops of essential oils to the water. You can buy a 2 year supply of detergent for under $50. How about that kind of savings!
Related Posts Plugin for WordPress, Blogger...