


I have a few pillows on my couch that needed some help. So I picked up some fabric at a yard sale, a zipper at Hobby Lobby and decided to make a throw pillow cover. The pillow I used inside the cover was a yellow pillow that I bought at Kohl's on clearance for $1.50. I'm loving the new look!

Here is the fabric that I bought. It cost me 25 cents! Such a smokin' deal!

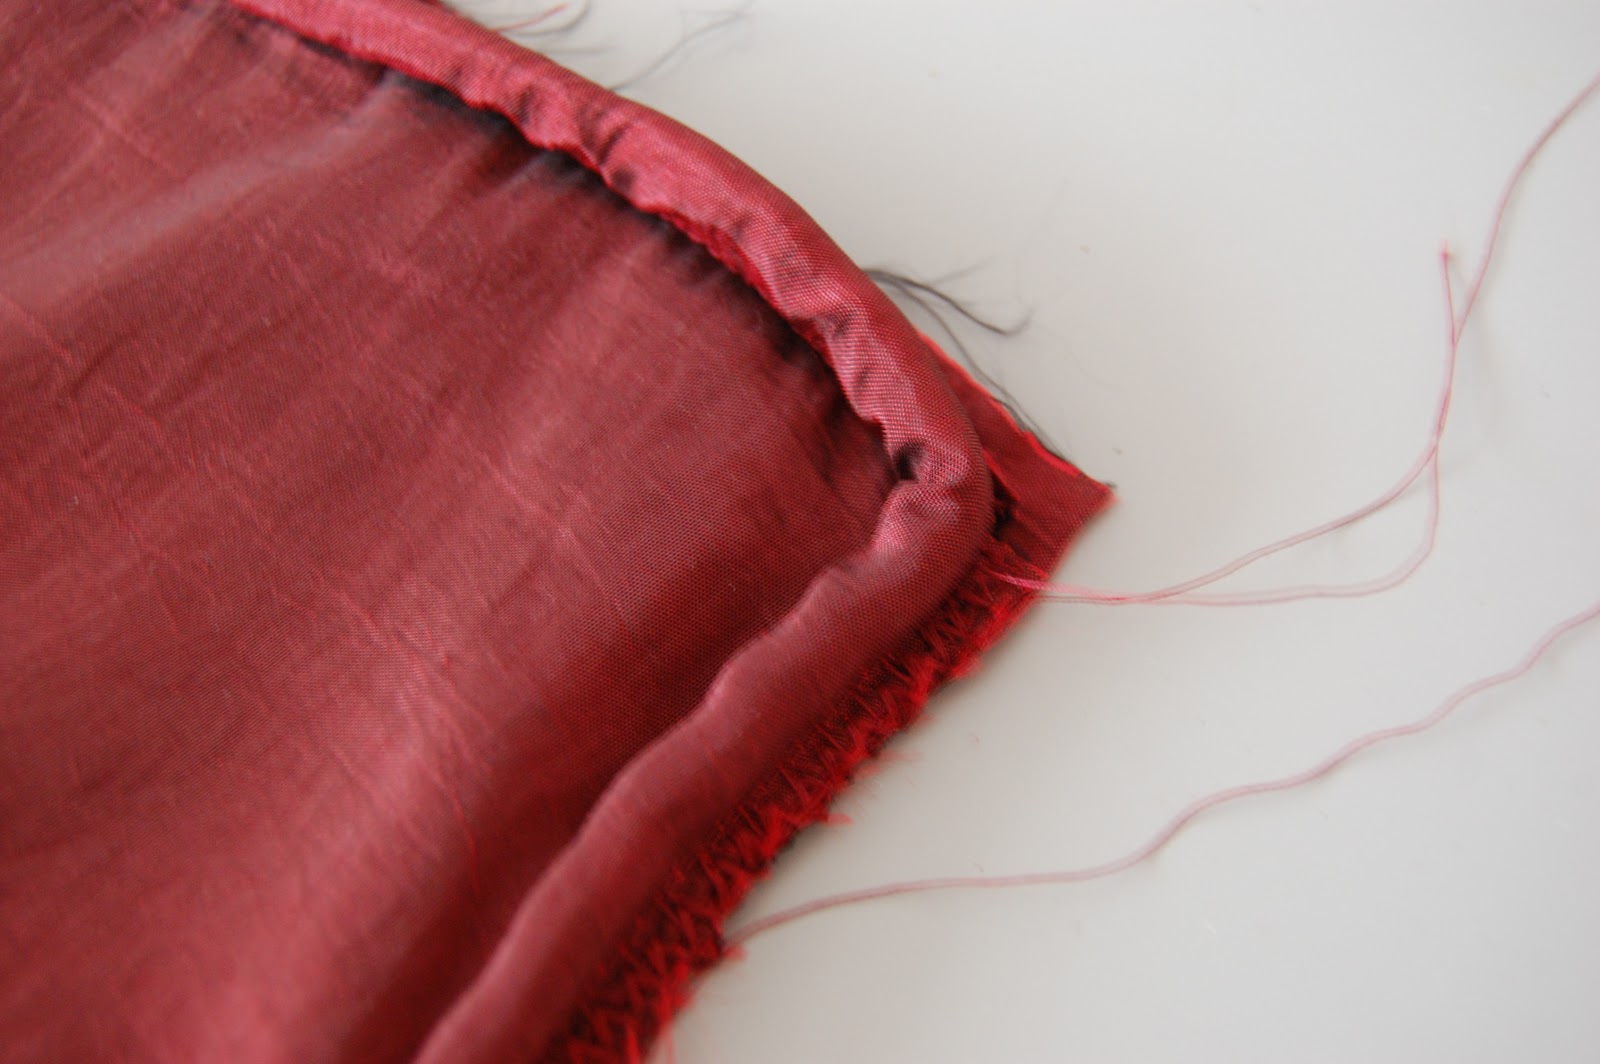
My fabric is 60 inches long. I cut 2 strips 3 inches wide and sewed them together, so I had one really long strip of fabric.

I sewed both edges. One edge I folded over and I did a hem stitch on the other edge.

On the side I used the hem stitch, I used my gathering foot and made a beautiful ruffle. I love my gathering foot! It makes ruffles so easy! Here is a link to a generic gathering foot, similar to the one I have.
Distinctive Shirring Gathering Sewing Machine Presser Foot - Fits All Low Shank Singer, Brother, Babylock, Viking (Husky Series), Euro-Pro, Janome, Kenmore, White, Juki, Bernina (Bernette Series), New Home, Necchi, Elna and More!
The pillow I used is about 16 inches by 16 inches. I cut out 2 pieces of fabric 17 inches squared. Then I sewed the ruffle onto one of the square pieces of fabric in a circular fashion.

I wanted to have piping go around the edges of the pillow. I went to the store and looked at various ways to do this, but I didn't want to spend any extra money. This is suppose to be a really cheep project! So I figured that I could find something at home instead.

This is what I came up with. I found some rope that my husband had and I cut some fabric 2 inches wide. I sewed the fabric over the rope and was done! Easy enough! And didn't cost me any extra money.

I sewed the piping onto the side that I sewed the ruffle, right sides together.

I cut the edges on each corner so they would fold better.
I wanted to be able to take this cover off easily, but I didn't want everyone to be able to see the zipper. So I used an invisible zipper. I love these zippers because once they are zipped up, it looks like a hem and not a zipper. The best way to install one is to follow the instructions in the packaging. Then sew the front to the back and you are done!

I didn't really like how far the rose fabric stuck out on the pillow. It still looked good, but I wanted to have it look a little different. So I took the pillow out and started with the inside of the rose and stitched the edge of the flower down to the pillow. I did this every 2 or 3 inches all the way around the rose, leaving the last layer alone.

I loved the way it turned out! The pillow looks so much better than it did before and only cost me a few dollars!


Vote for us Daily just by clicking the botton!


43 comments:
Thanks for the comment. I was just hopping around checking out the competition too! :) I love this pillow. I desperately need to make some new ones for our couch. I got so sick of the ones we had that I stuffed them in a closet and now our couch is naked! I keep meaning to make some new slip covers for them. I might have to try this cute one out for myself!
Yours is adorable Brianna! I guess great minds think alike!
This is cute! I'm doing several new pillows for the New Year- this week was the ribbon pillow.
Melanie
www.bearrabbitbear.com
Pretty! I really like that fabric.
You did an amazing job on your pillow! It turned out great!
Your pillow is gorgeous!
This is so cute!! Thanks for the tutorial. I would love for you to link up on Blog Stalking Thursday! http://thecraftyblogstalker.blogspot.com/2012/01/blog-stalking-thgursday-22.html
Love your pillow. I don't think I've got the skills to do it myself, so I really admire you for figuring it out and doing such a great job!
Krista
krista-artista.com
I totally love this!!! It is so chic and stylish and really adds a pop of color!
I would love for you to visit and show it off at Find Your Craft Friday!!!
http://thequickjourney.blogspot.com/2012/01/find-your-craft-friday-5.html
Great post! Thanks for joining my linky party!
So pretty!!! I love it.
Rachel
adventuresofadiymom.blogspot.com
This is beautiful!
It turned out beautifully!! I love the fabric you used. I need to do something like this in my living room desperately. Thanks for sharing your process!
Have a great weekend,
Liberty
I am featuring you tomorrow during Sticker Time... Thank you so much for the great tutorial I will be using it!
I love your choice of fabrics! This pillow is simple and elegant - great job!
great job! I would love for you to join me in Handmade 52! http://raisingoranges.blogspot.com/2012/01/handmade-52.html
I love how it turned out!
I would love for you to join me in Handmade 52! http://raisingoranges.blogspot.com/2012/01/handmade-52.html
I love this pillow!! The fabric is gorgeous and I love the flower!! TFS!!
Stopping by from The 36th Avenue and your newest follower here and on FB.
I found you via the Strut Your Stuff hop & am a new follower.
Beautiful! My couch is in need of some new throw pillows - this is great inspiration.
Brooke
http://cupcakecucumber.blogspot.com
http://blueberrysquash.blogspot.com
BEAUTIFUL!
This turned out so great!
Thanks SO much for linking up your awesome posts @ Feature Friday Free-for-All!
~Abbie (www.fivedaysfiveways.com)
Whoa, that is one gorgeous pillow!
It's absolutely gorgeous!!! If I only I could sew!!! Oh well... but you did just gain your newest follower! :) Would love for you to follow back if ya like :)
-Lauren @ summitstreetjoy.com
Will you make me one of these? I love it.
LOVE this rose pillow Briana! - great budget too! and a lovely step by step tutorial! Good luck in the contest - I'll pop over and vote for you now!
Thanks for linking to a Round Tuit!
Hope you have a fabulous week!
Jill @ Creating my way to Success
http://www.jembellish.blogspot.com/
OH no! Didn't check the date and I'm too late to vote! Glad to see you made it through to the next round though! Can't wait to see what you come up with for that!
Jill @ Creating my way to Success
http://www.jembellish.blogspot.com/
That is so pretty!! I love it! Thanks for the tutorial!
Jill
twoyellowbirdsdecor.blogspot.com
This pillow is great ! I hope you will share it at my party, Some Good Stuff: http://some-good-times.blogspot.com/2012/01/some-good-stuff-2.html
Megan
You should be happy because you did a really great job, and you were featured - congrats!! So great to see the tutorial, so now I can put my sewing skills to work. Thanks for sharing your creativeness over at Sunday's Best!
This is a wonderful tutorial! I love the ruffle on the pillow cover.
(Stopping by from Everything Under the Moon's linky party.)
Love it! I need to make a couple for my living room.
The pillow is just marvelous!!!! Wanna make one for me? hehe
Check out my blog too:
http://thediydreamer.blogspot.com
It's gorgeous! So you sewed the piping on the wrong side (if the right sides were together)? I'm always confused with adding piping so I never do it. But it adds so much!
I host a party on Fridays. Would you link up??
http://daysofchalkandchocolate.blogspot.com/2012/01/latest-and-greatest-13.html
Love the stitch down idea! Pinning this!
Absolutely Beautiful!!
Some things just make my mouth drop open! That pillow is GORGEOUS! Professional! I would love for you to link up with my party at http://anoriginalbelle.blogspot.com/2012/01/make-it-yourself-monday-10-link-up.html
Have a great day!
Beautiful work. I can hardly sew a button.
Featured you today!
Wow! These are beautiful! Piping isn't something I haven't ventured into trying yet!! :) Soon!!
Cuter that anything at the store! Thanks for linking up to "Strut Your Stuff Saturday." We would love to have you back next Saturday to share more of your ideas. -The Sisters
That looks wonderful!
Very pretty! Thanks for linking this up to my Shabby Shares link party.
just gorgeous!
Thanks for linking up to Serenity Saturday link party
Hope to see you there again this week
http://serenityyou.blogspot.com/search/label/Serenity%20Saturday
Natasha
Wow, I can't believe what great deals you found to make this for so cheap. It's gorgeous, you could sell that for a good chunk of money :-). Thanks for sharing on Monday Madness.
Post a Comment