I have a few pillows on my couch that needed some help. So I picked up some fabric at a yard sale, a zipper at Hobby Lobby and decided to make a throw pillow cover. The pillow I used inside the cover was a yellow pillow that I bought at Kohl's on clearance for $1.50. I'm loving the new look!
Here is the fabric that I bought. It cost me 25 cents! Such a smokin' deal!
My fabric is 60 inches long. I cut 2 strips 3 inches wide and sewed them together, so I had one really long strip of fabric.
I sewed both edges. One edge I folded over and I did a hem stitch on the other edge.
On the side I used the hem stitch, I used my gathering foot and made a beautiful ruffle. I love my gathering foot! It makes ruffles so easy! Here is a link to a generic gathering foot, similar to the one I have.
Distinctive Shirring Gathering Sewing Machine Presser Foot - Fits All Low Shank Singer, Brother, Babylock, Viking (Husky Series), Euro-Pro, Janome, Kenmore, White, Juki, Bernina (Bernette Series), New Home, Necchi, Elna and More!

The pillow I used is about 16 inches by 16 inches. I cut out 2 pieces of fabric 17 inches squared. Then I sewed the ruffle onto one of the square pieces of fabric in a circular fashion.
I wanted to have piping go around the edges of the pillow. I went to the store and looked at various ways to do this, but I didn't want to spend any extra money. This is suppose to be a really cheep project! So I figured that I could find something at home instead.
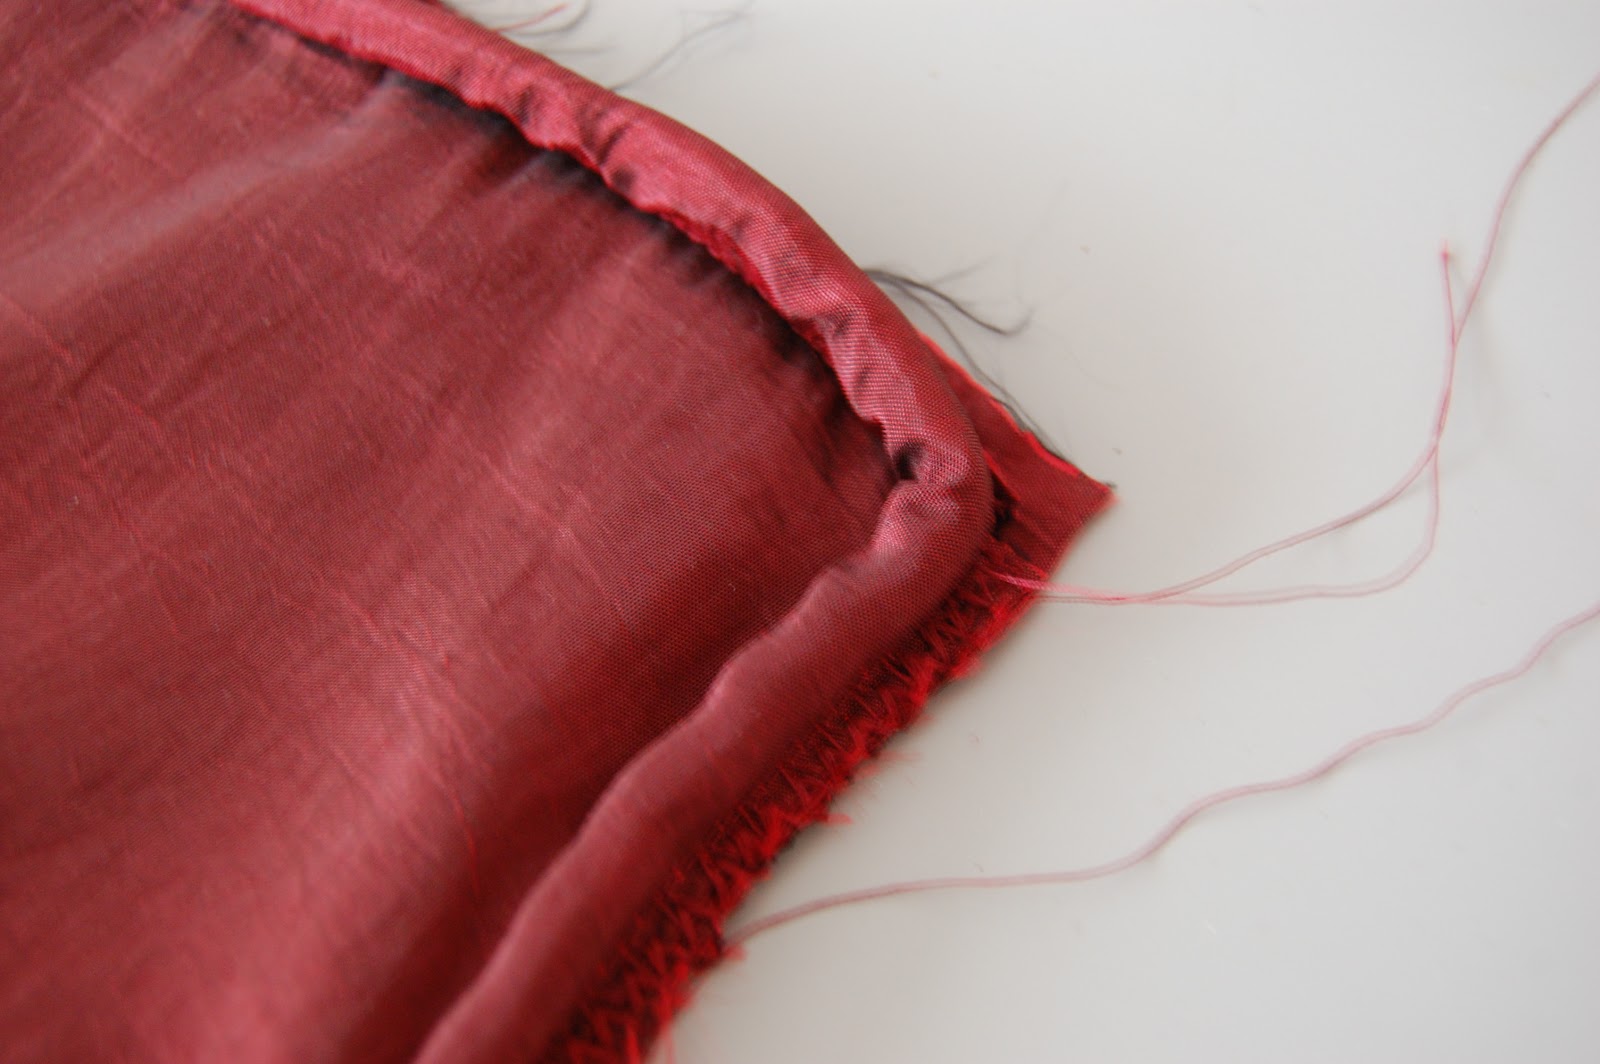
This is what I came up with. I found some rope that my husband had and I cut some fabric 2 inches wide. I sewed the fabric over the rope and was done! Easy enough! And didn't cost me any extra money.
I sewed the piping onto the side that I sewed the ruffle, right sides together.
I cut the edges on each corner so they would fold better.
I wanted to be able to take this cover off easily, but I didn't want everyone to be able to see the zipper. So I used an invisible zipper. I love these zippers because once they are zipped up, it looks like a hem and not a zipper. The best way to install one is to follow the instructions in the packaging. Then sew the front to the back and you are done!
I didn't really like how far the rose fabric stuck out on the pillow. It still looked good, but I wanted to have it look a little different. So I took the pillow out and started with the inside of the rose and stitched the edge of the flower down to the pillow. I did this every 2 or 3 inches all the way around the rose, leaving the last layer alone.
I loved the way it turned out! The pillow looks so much better than it did before and only cost me a few dollars!
Vote for us Daily just by clicking the botton!